


- by John Bittner
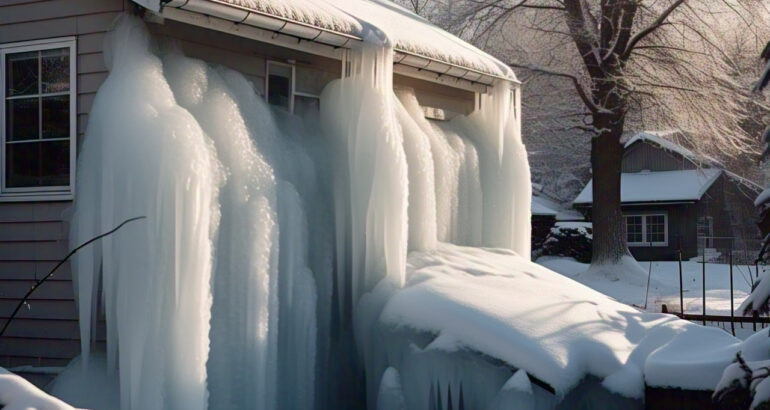
Winter brings a blanket of snow and chilly temperatures, but it can also bring unwelcome guests to your roof—ice dams. These thick ridges of ice that form along the edges of your roof might seem harmless at first, but they can lead to serious damage to your home’s roof and walls. From leaks to costly repairs, ice dams are a winter problem that no homeowner wants to face.
The good news? With proper understanding and preventive measures, you can avoid ice dam headaches altogether. This blog offers practical tips to keep your roof safe and ice dam-free, whether you’re a DIY enthusiast or a property manager looking to protect a new metal roof or shingle roof. Let’s get started!
Understanding Ice Dams
How Do Ice Dams Form?
Ice dams develop when warm air inside your home causes snow on your roof to melt unevenly. The melted water flows to the colder edges of the roof, where it refreezes. Over time, this cycle creates a ridge of ice that blocks drainage, causing water to pool behind it. This trapped water is what eventually seeps into your home, damaging walls, ceilings, insulation, and even your storm-damaged roof.
Factors Contributing to Ice Dams
- Poor Attic Insulation: Insufficient insulation allows warm air to escape, heating up your roof and melting the snow.
- Lack of Ventilation: Without proper airflow in your attic, warm air gets trapped, exacerbating the problem.
- Roof Design: Flat roofs, complex valleys, or poorly pitched areas are more prone to ice dams.
- Weather Conditions: Heavy snowfall followed by freezing temperatures creates the perfect environment for ice dams to form.
Signs of Ice Dams
To prevent major damage, watch out for these warning signs of ice dams:
- Icicles hanging along the roof edge.
- Water stains on ceilings or walls inside your home.
- Curling or dislodged shingles on your new shingle roof or existing setup.
- Excessive snow accumulation in specific areas of your roof.
Preventive Measures for Ice Dams
A. Immediate Actions
1. Safe Ice Dam Removal Techniques
If you’ve spotted ice dams, removing them carefully is essential to avoid further damage to your roof.
- Use a roof rake to safely pull snow off the roof while standing on the ground.
- Avoid chiseling or hammering the ice, as this could damage your new metal roof or shingles.
- Apply calcium chloride to melt the ice, but avoid rock salt—it can corrode your roof material.
2. Importance of Maintaining a Clear Roof
Regular snow removal prevents the buildup that leads to melting and refreezing. After a snowstorm, use tools designed for roofs to ensure safe removal. If sealing your roof isn’t feasible, focus on key areas such as valleys or sections prone to ice accumulation.
B. Long-term Solutions
1. Insulation and Ventilation Improvements
One of the most effective ways to prevent ice dams is addressing the root cause—heat escape.
- Add high-quality insulation in your attic to block warm air from heating up your roof. Fiberglass and foam insulation are common choices.
- Improve ventilation to allow cool air to circulate in your attic. Ridge vents and soffit vents are excellent additions to regulate attic airflow.
2. Roof Heating Systems
Installing roof heating cables is a modern solution for consistent melting of snow and prevention of ice dam formation. These cables are especially useful for homes requiring frequent ice dam removal or for protecting storm-damaged roofs.
DIY Tips and Tricks
For those who love rolling up their sleeves, here are some DIY solutions to tackle ice dams before they form.
Step-by-Step Guide
- Inspect Your Roof:
- Before the first snow, check your roof for loose shingles, clogged gutters, or any other issues.
- Seal Air Leaks:
- Seal gaps or cracks where warm air might escape, especially around vents, chimneys, or light fixtures.
- Create a Barrier:
- Place a waterproof ice and water shield under the shingles near the eaves. This can protect even older roofs from seepage.
Tools and Materials Needed
- Roof rake
- Calcium chloride
- Attic insulation
- Ventilation systems
- Air sealant (e.g., caulk or foam spray)
Professional Services for Ice Dam Prevention
If the DIY approach feels overwhelming, enlisting professional help might be your best bet.
Overview of Professional Services
- Roof Inspection:
Certified roofers can assess vulnerabilities on new metal roofs, shingle roofs, or even storm-damaged roofs.
- Insulation and Ventilation Installations:
Professionals can install proper insulation and ventilation systems tailored to your home’s design.
- Heating Cable Installation:
Experts can install roof heating cables efficiently and safely.
When to Consider Professional Help
- If ice dams occur frequently despite preventive measures.
- When significant damage (e.g., leaks or structural issues) is visible inside or outside your house.
- If your home suffers from a storm-damaged roof needing immediate repair.
Stay Ice Dam-Free All Winter Long
Ice dams might be seasonal, but their impact can last well beyond winter. They can lead to structural damage, roof deterioration, and costly repairs. By taking the right preventive steps—be it through DIY efforts or professional help—you can protect your roof, maintain your home’s integrity, and even extend the lifespan of a new metal roof or shingle roof installation.
Got your own ice dam prevention hacks? We’d love to hear them—share in the comments below! Need expert advice tailored to your roof’s needs? Schedule a consultation today with a trusted professional to safeguard your home.
Winter may be tough, but with the right preparation, your roof will remain tougher.


